
A year ago I received this email:
“Hi Angela Holm,
I am writing to you today because I really like your portrait shots and would like to propose something for you.
I run a website on a daily basis called: https://sleeklens.com/
We sell professional workflows to photographers who are looking to cut down time editing their photos and get better results.
Two of our workflows is related to portrait photography:
https://sleeklens.com/product/portrait-perfection-photoshop-actions/ (PS Actions)
and
https://sleeklens.com/product/strike-a-pose-portrait-workflow/ (LR Presets)
These workflows are results of many portrait photographers coming together and giving their input on what they want in a portrait workflow in Photoshop or in Lightroom.
As a result, A lot of them now prefer to do their editing almost exclusively with our workflows. Our problem is that many photographers don’t know about our product.
My proposal to you, is to offer the portrait workflow for free (you can choose which workflow you like to use, it’s either Photoshop or Lightroom workflow) to you in exchange of a small review on your website. It can be just a few sentences or it can be half a page. You can decide that.
We just want you to make an honest review of it and mention where the product is available.
If you are interested I would love to hear back from you and then we can figure out the details quickly.
In any case - I hope you have a great day.
Best Regards,
Jane Grates
PR Relations Manager
Sleeklens.com
”
Some Honesty:
To be honest, I never used presets up to this point. I chose the "Strike a Pose" Portrait Workflow which consisted of 69 presets and 29 brushes. Once I got the workflow, for free, I sat on it for a while continuing to edit without them. Silly I know. Habits die hard, change can be difficult, so on and so forth...
As wedding season approached I began exploring the presets. I was overwhelmed at first because I felt like I was drowning in options. So, I just went through the presets 1 by 1. I started to find my favorites and I began applying them instead of going into Photoshop to get my desired effects which in return speeded up my editing time significantly! Just what I was looking for.
As this process continued I started finding that the brushes I would normally have created manually were already all there for me. Sleeklens created a brush for all of the needs I was running into. So that was another convenient time saver.
Practical Examples:

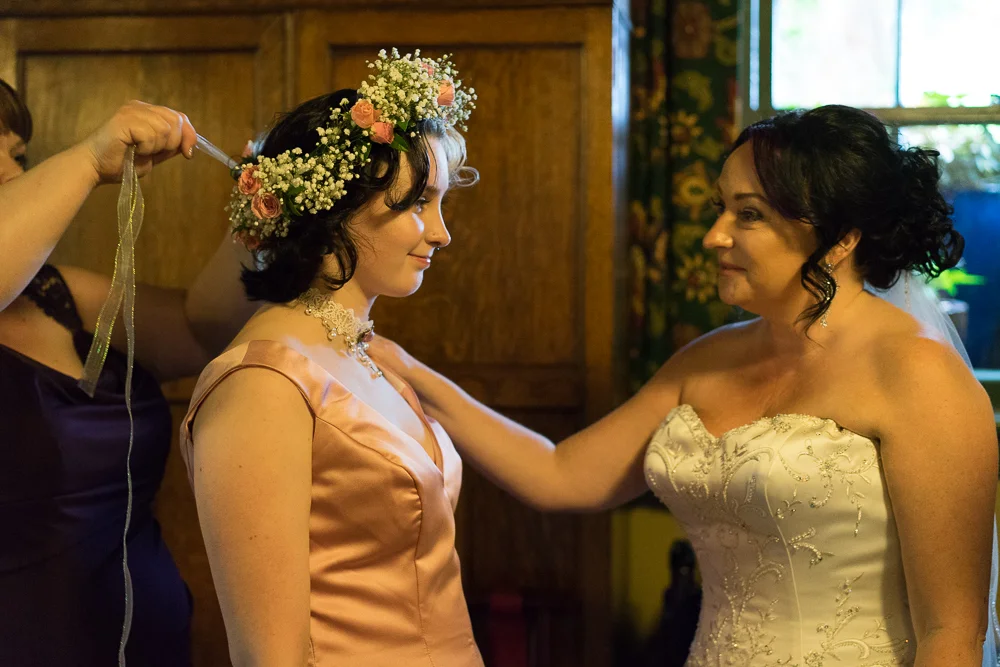
Xanne's Wedding at McMenamins Grand Lodge. This location has very yellow dim lighting. It was one of the basement rooms in the Lodge. The window you see behind Xanne and her daughter was the only natural light coming into the room.
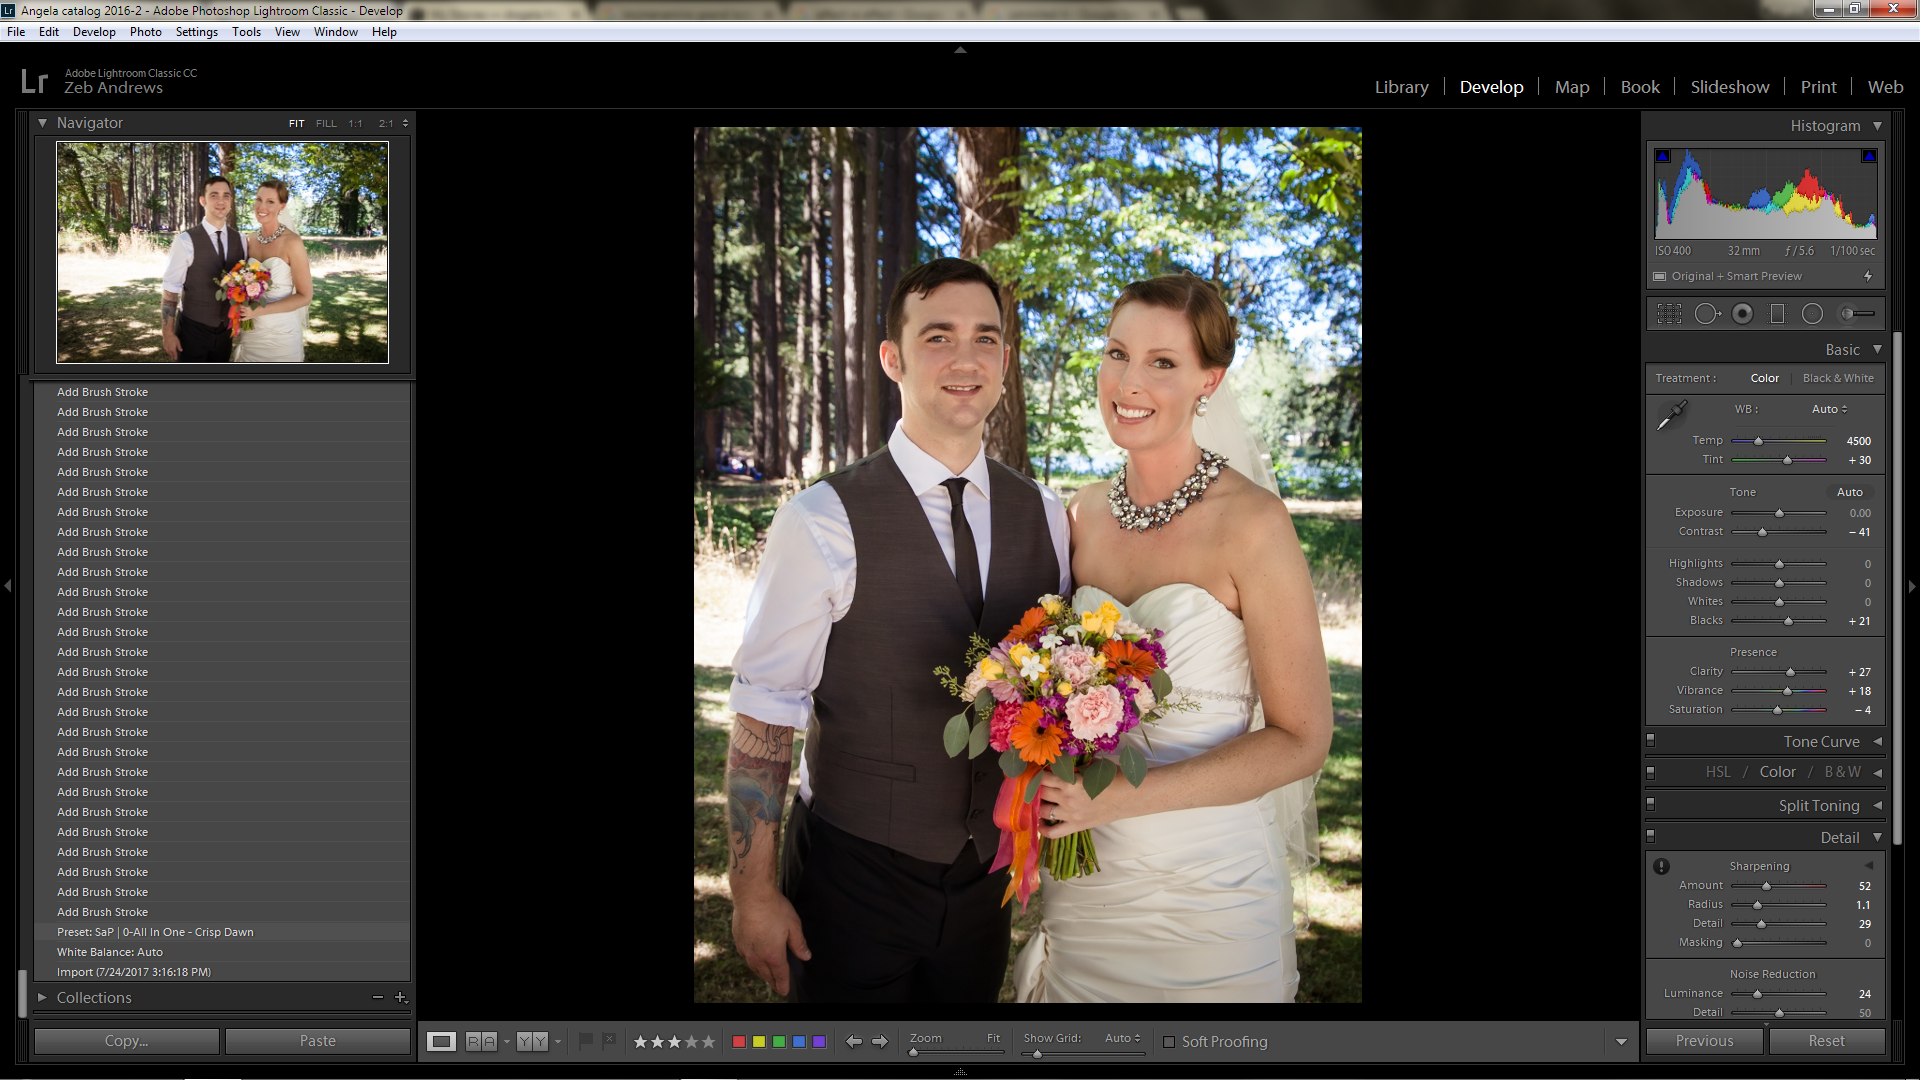
Example 1 Sleeklens "Strike a Pose" Adobe Lightroom Portrait Workflow:
This is the before editing
This is the RAW image out of my Sony A7II

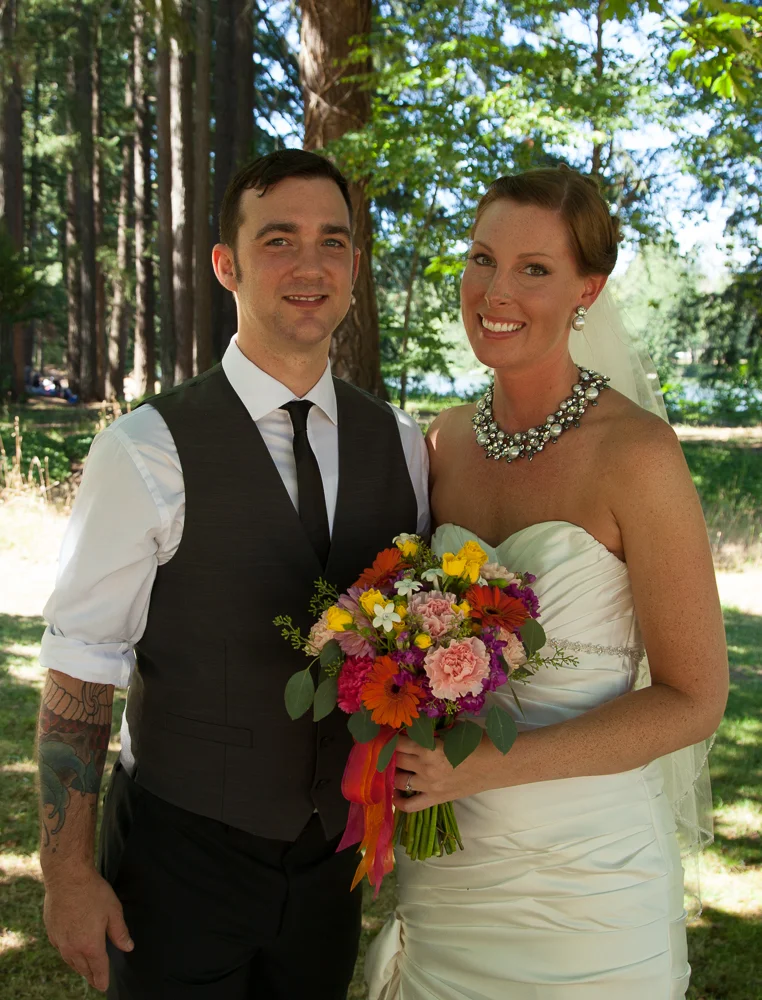
This is after applying
Preset SaP I 0All-In-One - Crisp Dawn & Preset SaP I 4-Tone/Tint - Cool Down
I would like to see an option for strictly reducing oranges added into the Color Correct preset options. Instead of using the "Cool Down" preset with Sleeklens, I am using the "Orange Skin Fix" options within the VSCO Film Presets. I am combining the Sleeklens with the VSCO Film presets to get the lighting affect that I desire and to fix orange skin issues.
Michael and Cheyennes Wedding was at the lovely Elysian Ballroom in Portland Oregon. This venue had ample natural lighting coming through huge windows on one side of the entire building. It was a joy to photograph in. This particular image wasn't about color for me, therefore I omitted it. Black and white told the story much stronger in my opinion. I have struggled to find a preset that would give me the contrasty black and white that I really love. I have found 2 presets within Sleeklens. This made me happy. *But beware, since the presets overlay one another it is very important to pay attention to the order in which you use them. If you experiment with the color photo with one of the Tone/Tint presets and then put on any of the "All In One" or "Base" Presets you are not going to have a true black and white image.
Example 2 Sleeklens "Strike a Pose" Adobe Lightroom Portrait Workflow:
This is the before editing
This is the RAW image out of my Canon 5D MarkII
This is after applying
Preset SaP I 0All-In-One - Crisp Dawn & Preset SaP I 1-Base - Greyscale High

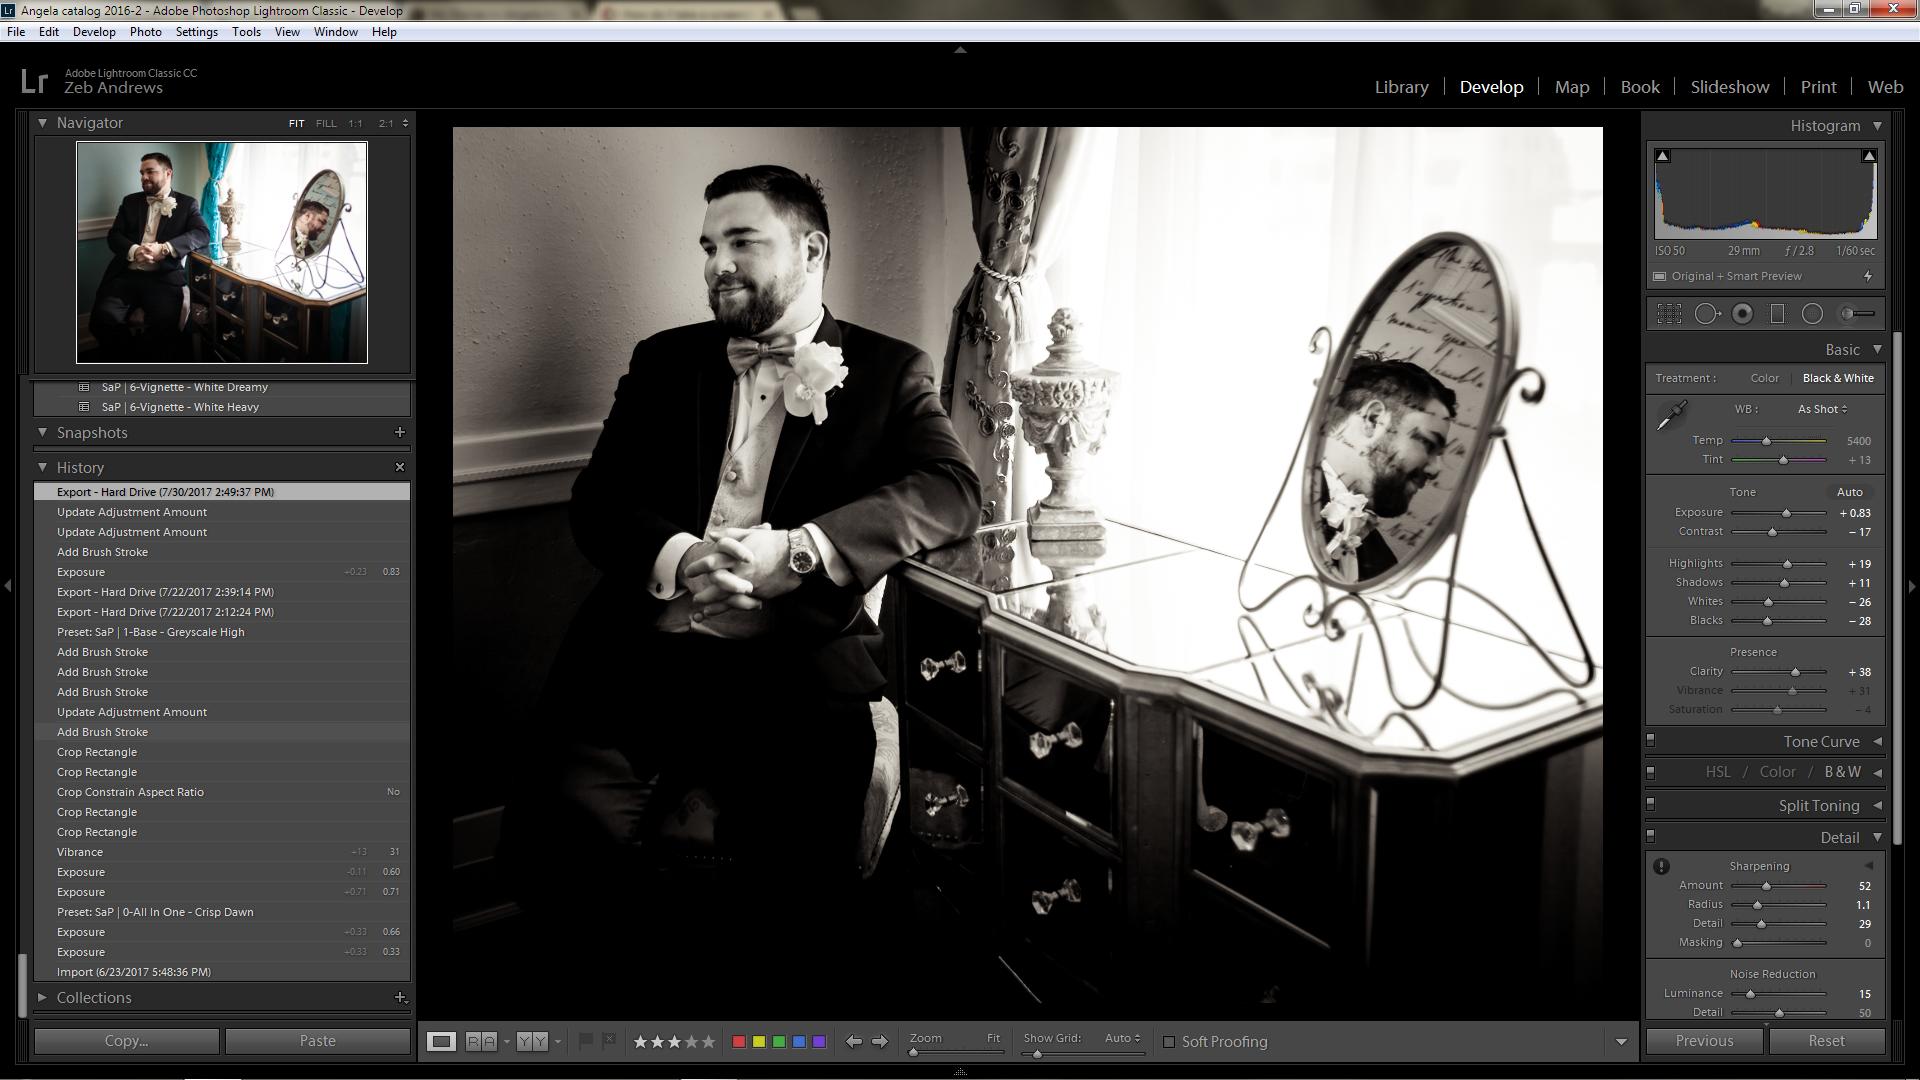
Yvonne and Evan's wedding was at Opal 28. It is a very small and quaint venue. The women who run it are amazing! This venue has a beautiful vintage mirror in the main room which made for a photographically fun day! This photo is inspired by my street photography. There is a lot happening in this image. Color would just distract the eye so I removed it. This image is cooler in tone than the previous image I posted. This is the effect of the other black and white preset. I really enjoy turning my color images into monochromatic photos now in Lightroom. This kept me working in Photoshop a lot in the past. Again, remember to be mindful of the order you overlay your presets. I also suggest you choose your favorite monochromatic preset and stick with it. I have learned this the hard way. If I were to gather all of my monochromatic wedding images from this past season that I edited with the Sleeklens presets and post them to my website one next to one another, they would have inconsistent tints and lack a visual cohesiveness. To deal with this, I just post the images that compliment one another in the same location or I re-edit them.
Example 3 Sleeklens "Strike a Pose" Adobe Lightroom Portrait Workflow:
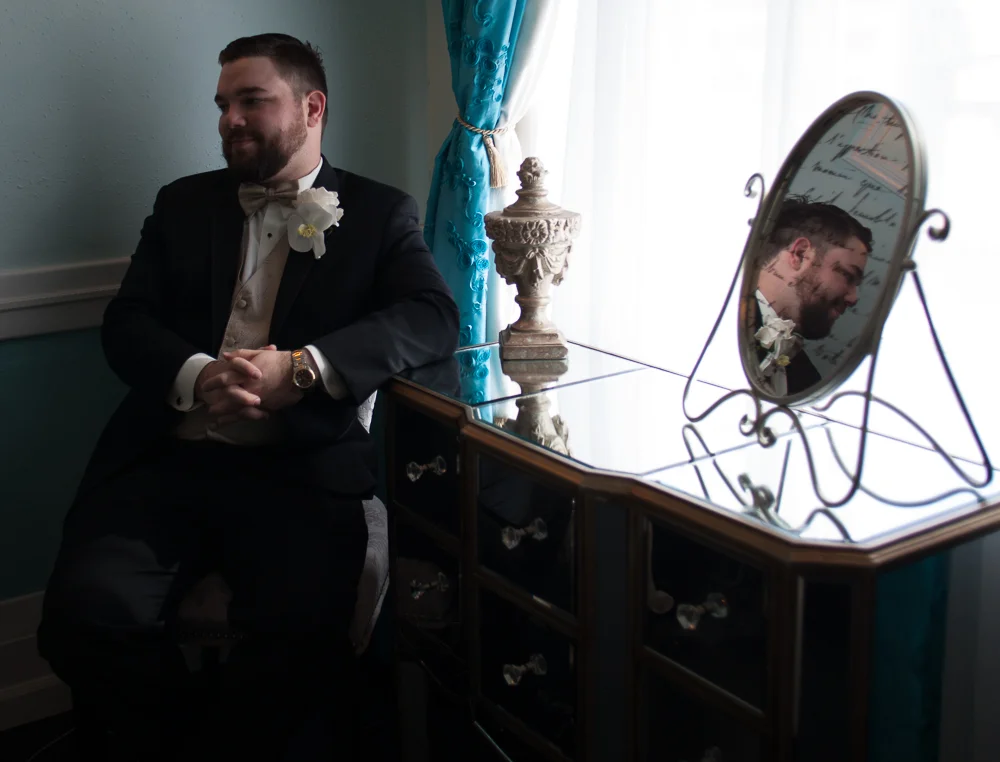
This is the before editing
This is the RAW image out of my Canon 5D MarkII
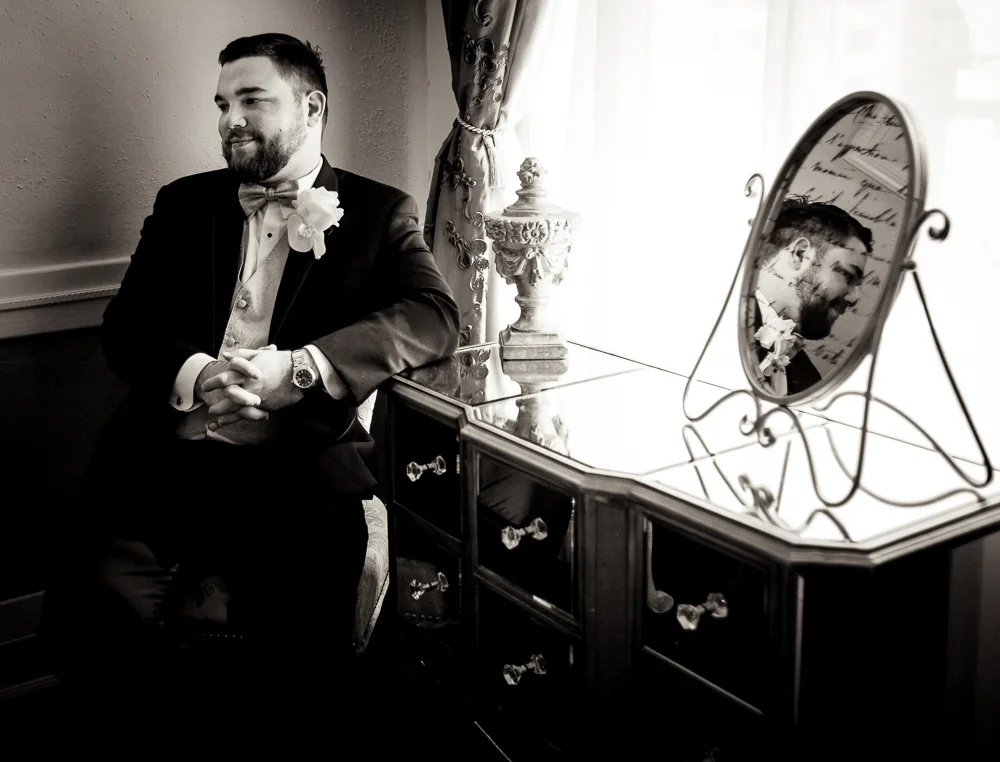
This is after applying
Preset SaP I 0All-In-One - Crisp Dawn & Preset SaP I 0All-In-One - Duo
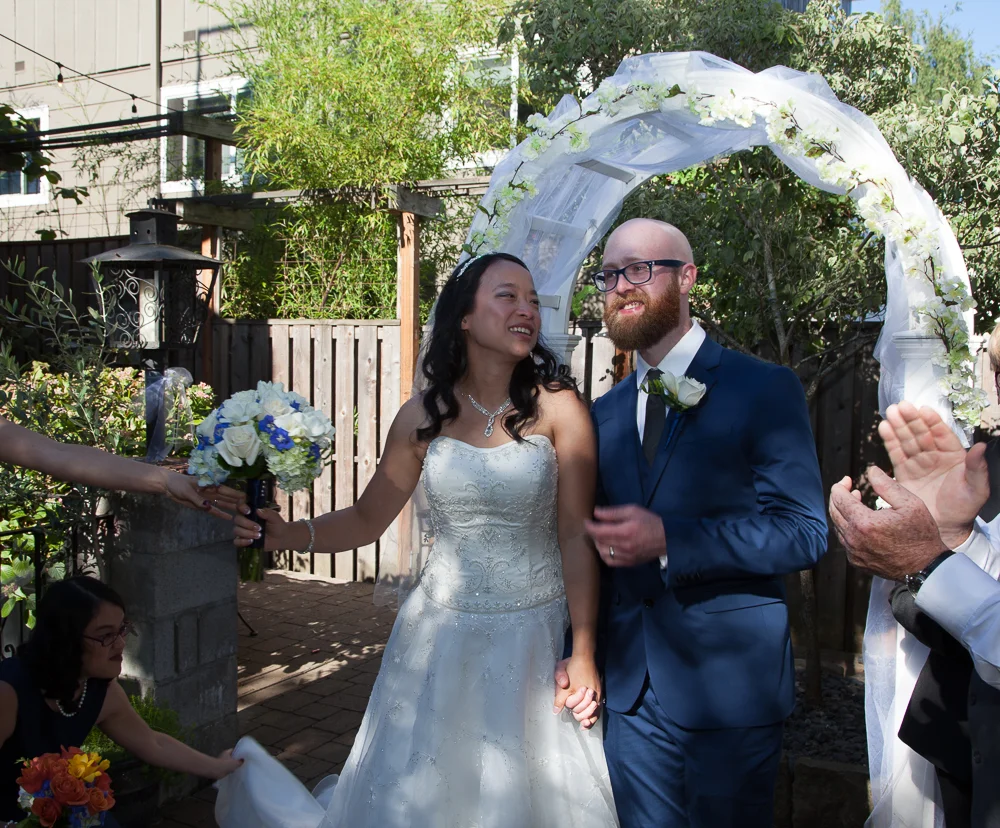
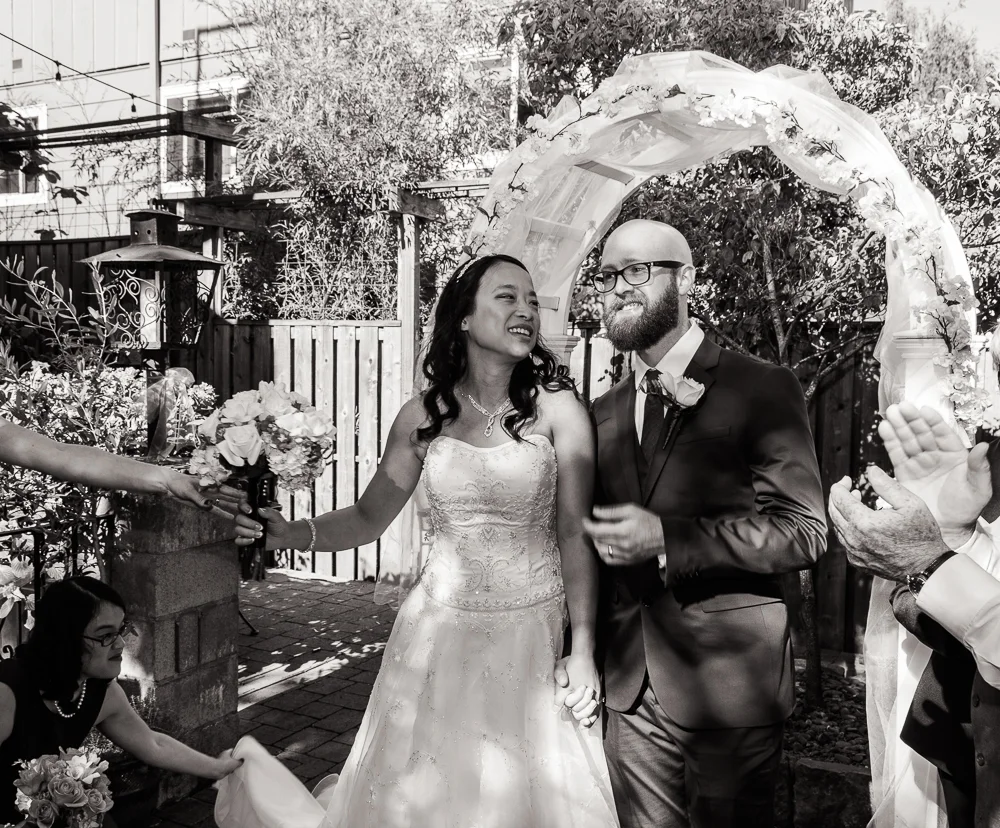
Whitney and Tom's wedding was near Camas Washington at Lake Lacamas Lodge. The bridal party photos were right in the middle of the day and we had a very harsh sun to work with. I didn't have an assistant on this shoot to hold a reflector for me. Thankfully, I was able to take care of these issues in postprocessing. I had Whitney and Tom standing in the only non-patchy shade available. This really darkened them more than I desired. This photo is a great example of the Sleeklens brushes.
Example 4 Sleeklens "Strike a Pose" Adobe Lightroom Portrait Workflow:
This is the before editing
This is the RAW image out of my Canon 5D MarkII
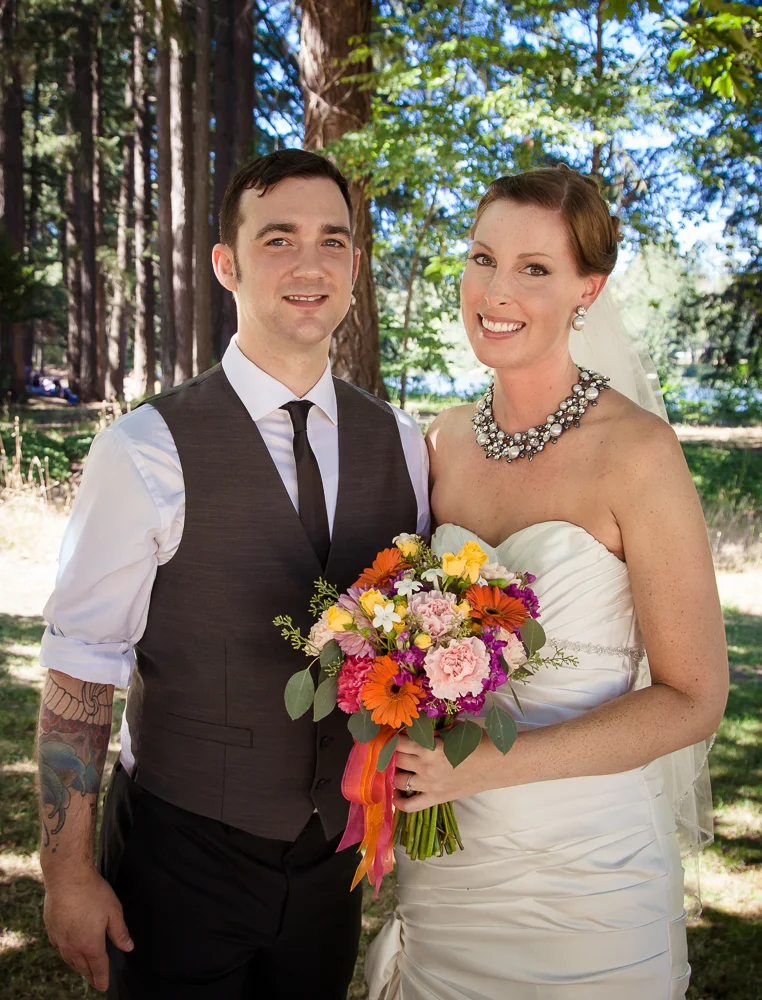
This is after applying
Preset SaP I 0All-In-One - Crisp Dawn & Brush Stike A Pose I Light - Brighten